Time of flight Flappy Bird with Tachyon
Run a Python port of Flappy Bird on the SBC with a ToF sensor for input.

Ready to build your IoT product?
Create your Particle account and get access to:
- Discounted IoT devices
- Device management console
- Developer guides and resources
Introduction
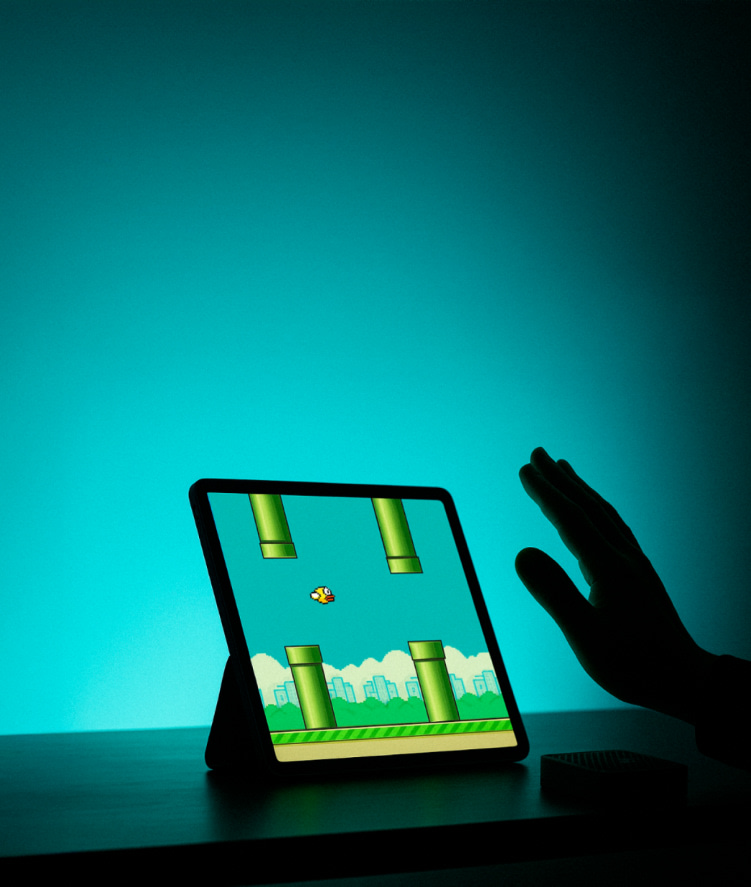
Particle’s new Tachyon single-board computer provides a great development platform for UI intensive applications such as digital signage or video displays. To illustrate this, we’ll explore how to run a Flappy Bird Python port on the SBC. But, for a fun twist, the user input will be based on an Adafruit time of flight (ToF) sensor module instead of a keyboard or game controller. You could modify this to become a touchless kiosk or motion based digital menu.
You can find the finished code in this GitHub repository.
The main pygame application is heavily inspired by the open source Flappy Bird port from LeonMarqs. All credit goes to the original creator.
Hardware setup
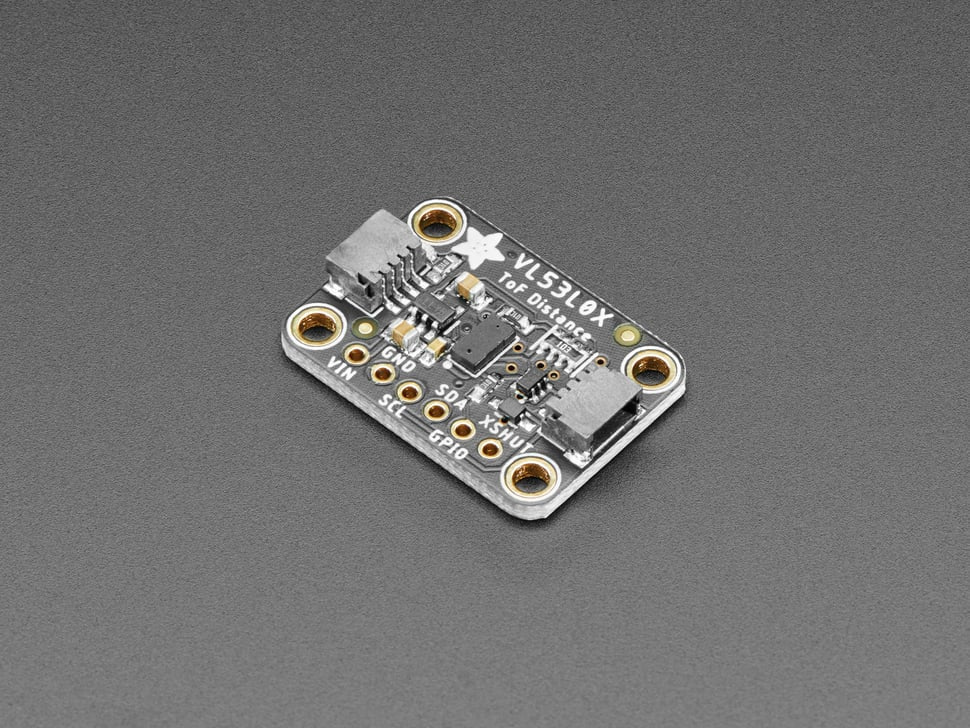
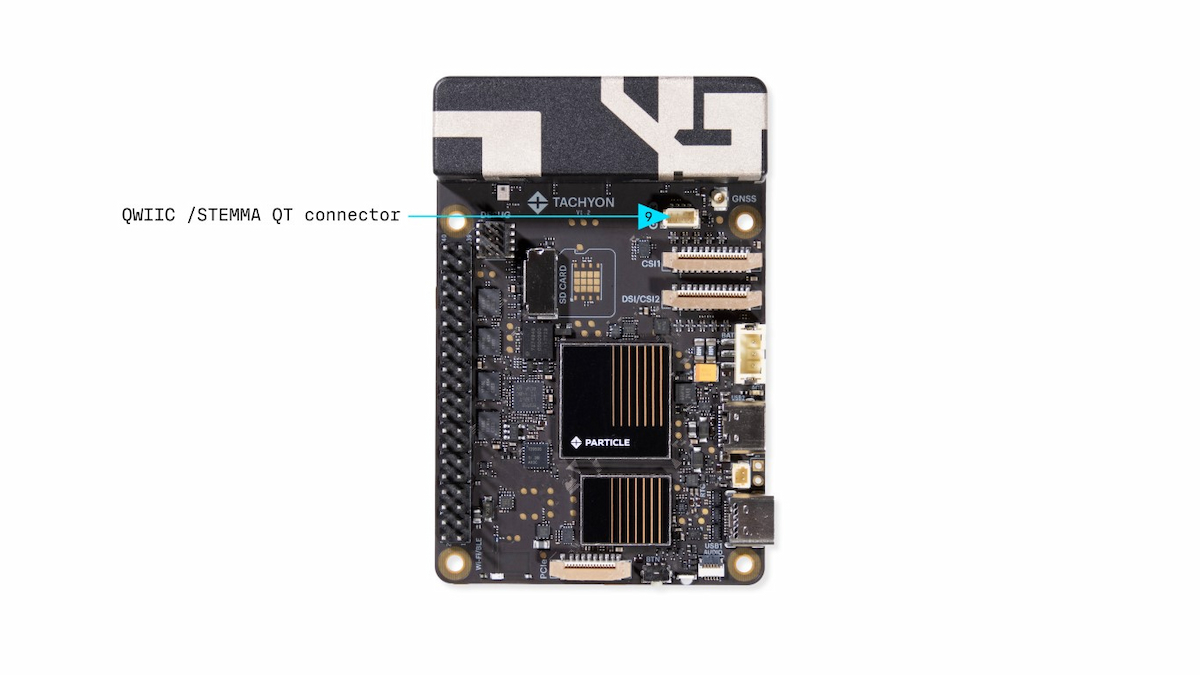
The hardware for this project is very straightforward thanks to Tachyon’s integrated Qwiic (STEMMA) connector. Simply connect the VL53L0X distance sensor to the I2C breakout port on the Tachyon with a four-pin JST cable.
center
center
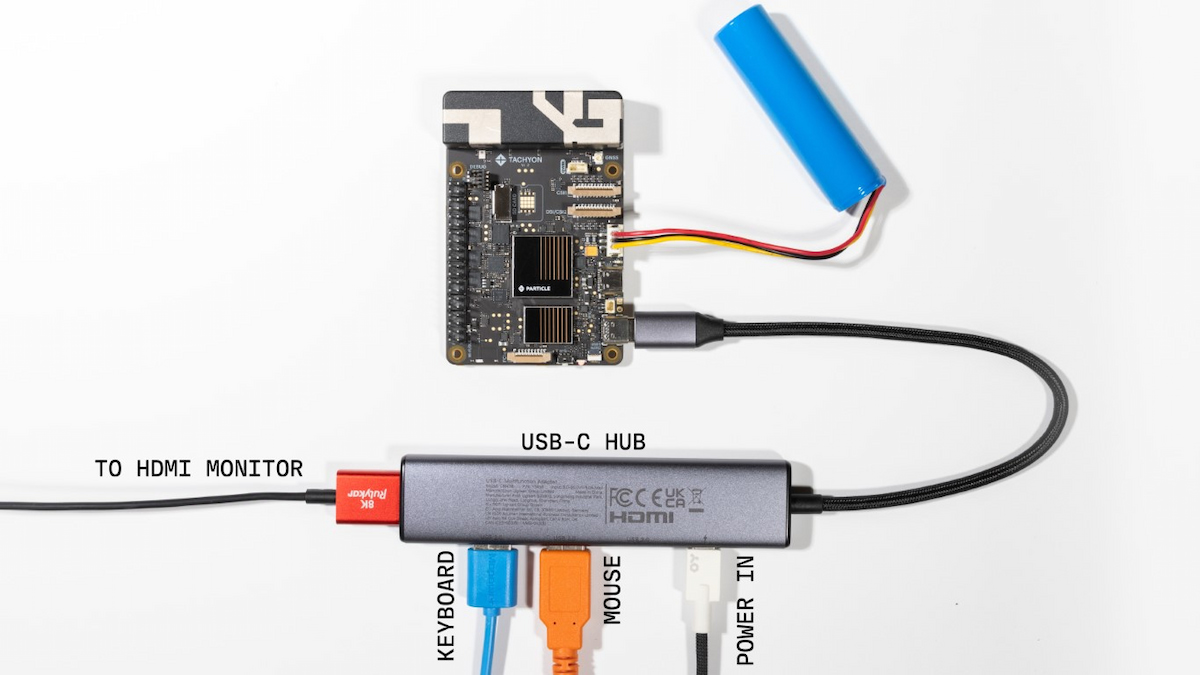
Then, plug in a compatible display. For this project we’re using a 10.1” HDMI display. A high quality USB-C HUB will make your life much easier by letting you simultaneously connect a keyboard and mouse, and charge the battery.
center
Setting up the Tachyon
You will need to configure the Tachyon with the desktop variant for this project. To do so, make sure to have the Particle CLI installed on a host machine (such as your daily computer). You can do this by running:
bash <( curl -sL https://particle.io/install-cli )
If you already have the CLI installed, make sure it is at least version 3.36.0 or later.
You can update the CLI via:
particle update-cli
Next, enter programming mode on your Tachyon by holding the button for at least three seconds while the device is turned off.
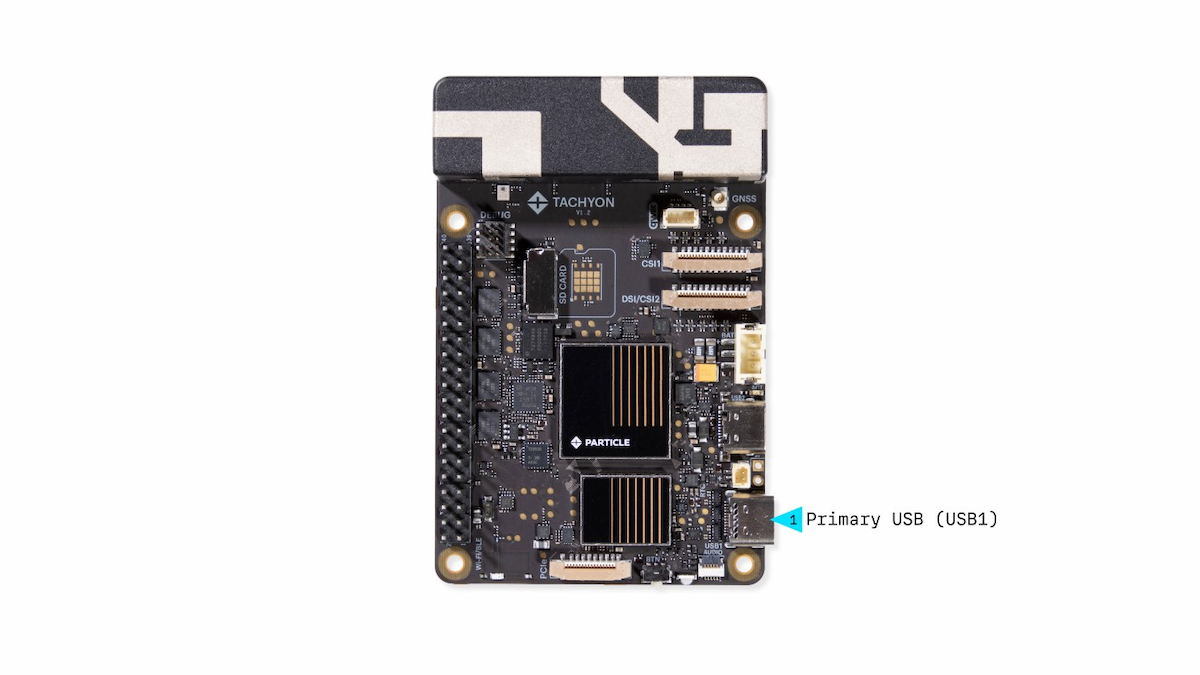
Your Tachyon should start flashing a yellow light. Plug USB1 on the Tachyon into your host computer and run the following command:
particle tachyon setup
center
Depending on your host computer’s operating system, you may need to configure USB driver access.
Follow allowing with the setup steps, but make sure to choose the desktop environment on step 5.
Running the Flappy Bird application
Once your device is properly configured, we can download and run the Flappy Bird application from the source repository.
Run the following commands to enable Docker to connect to your external display:
export DISPLAY=:0
xhost +local:docker
You will need to run the above commands each time the device reboots unless added to a start up script.
cd ~/Documents
git clone https://github.com/epietrowicz/tof-flappy-bird.git
cd tof-flappy-bird
Then, run the following to start up the application container:
particle update-cli
particle container run
Breaking down the application
At the root of the repository you’ll find a blueprint.yaml file. This tells Particle about the application so it can be updated remotely from the Particle console.
The application code lives in the flappy-bird directory (notice that this folder’s name matches the containers entry in blueprint.yaml).
Here there are a few Docker related files such as docker-compose.yaml and Dockerfile. These files configure the application’s container.
Some things to point out: in docker-compose.yaml, we map /dev/i2c-2 to the container as I2C-2 is the device that the integrated STEMMA connector is connected to. You can test that your sensor is detected by running:
i2cdetect -y -r 2
In the case of Adafruit’s ToF sensor, you should see a device detected with an address of 0x29.

center
In docker-compose.yaml we map the display to the container so that the game can make proper use of the connected display. This is done with the following line:
- /tmp/.X11-unix:/tmp/.X11-unix:rw
The Dockerfile is fairly simple. Based on the python3.9 Docker image, we set some environment variables, then run the main.py file from the app directory after installing the dependencies.
The main Python application is heavily inspired by the open source Flappy Bird port from LeonMarqs.
But, this fork uses Adafruit’s VL53L0X Python driver to generate “flap” events rather than keyboard inputs. You can tweak the constants at the top of the file to get different game mechanics such as sensitivity and speed.
# VARIABLES
SCREEN_WIDTH = 400
SCREEN_HEIGHT = 600
SPEED = 15
GRAVITY = 3
GAME_SPEED = 15

GROUND_WIDTH = 2 * SCREEN_WIDTH
GROUND_HEIGHT = 100

PIPE_WIDTH = 80
PIPE_HEIGHT = 500
PIPE_GAP = 200
PIPE_SPACING = 320  # smaller = more frequent

DEBOUNCE_MM = 20
NEAR_MM = 220  # become "near" when closer than this
COOLDOWN_MS = 250  # minimum time between bumps
Conclusion
SBCs like the Tachyon excel in graphics heavy applications like this. But, what sets the Tachyon apart is the native 5G connectivity and its built-in battery management system. Working together, these features allow a device like this to be deployed just about anywhere without having to patch together a mess of external modules.
Ready to get started?
Order your Tachyon from the store.
